The Three-Step
Strike.
A protocol, not a vibe. Every Royal Raptors project runs the same three steps, in the same order, with the same standards — regardless of crew, neighborhood, or job size.
Most painters call the prep "the boring part." We call it the job. A flawless finish is decided before the first brushstroke — in the way the floor is covered, the way the tape is pressed, the way a hairline crack is sanded out.
Site Analysis
We arrive 30 minutes early, walk every room, identify substrate type (plaster, drywall, MDF), test for adhesion problems, photograph existing damage, and confirm color codes against your selection. Nothing is assumed; nothing is improvised.
- Substrate identification
- Adhesion spot test
- Light-and-shadow inspection
- Color confirmation
- Damage photo log
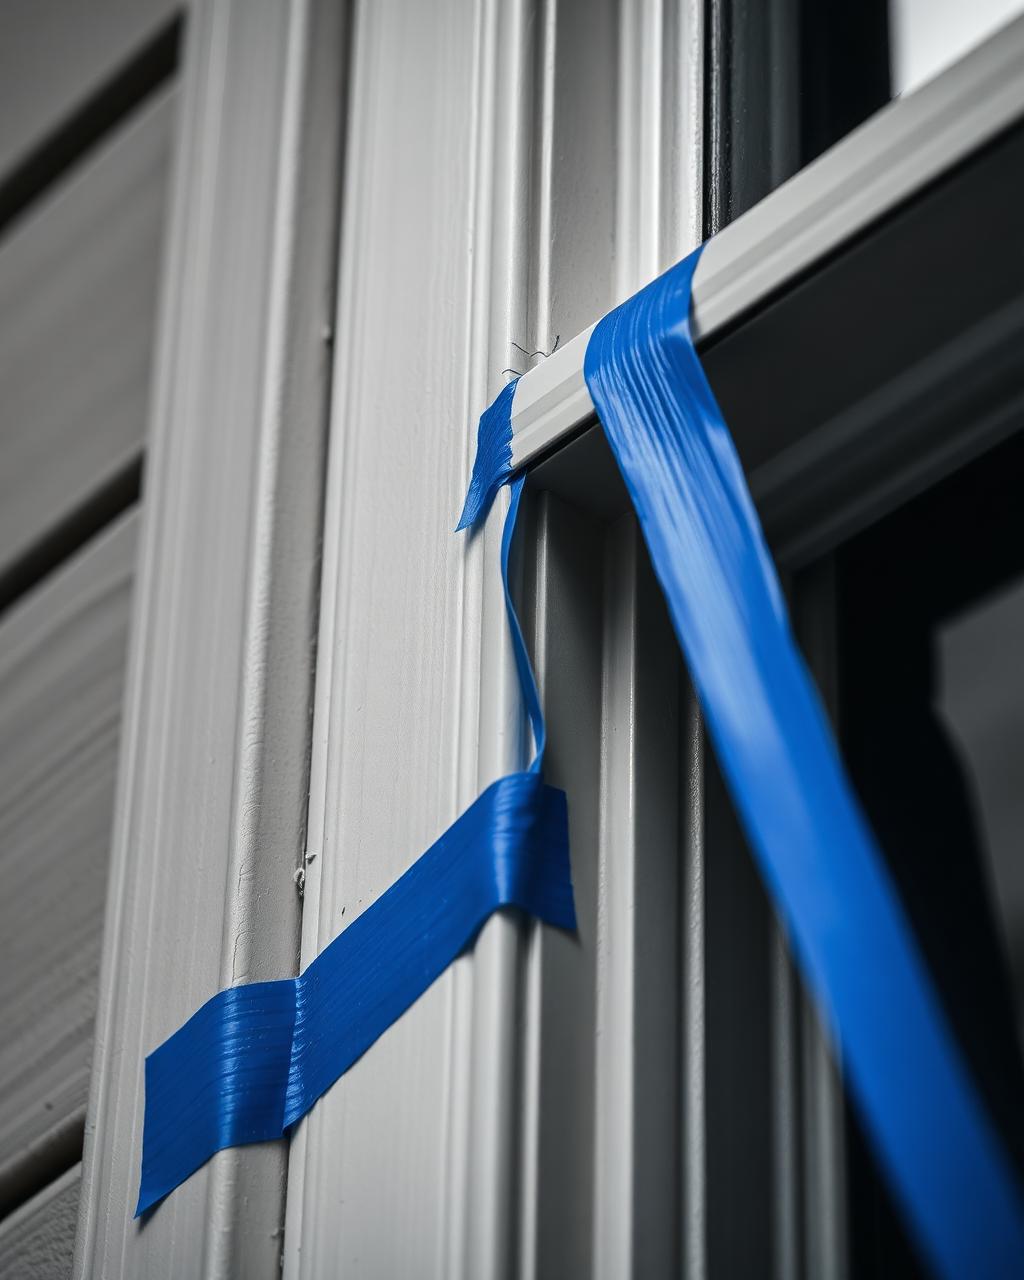
Masking Protocol
Floors get rosin paper at the perimeter and breathable plastic in the center. Furniture is centralized and double-covered. Trim is taped with premium painter's tape pressed with a putty knife. Outlets are removed, not just covered. HVAC vents are sealed.
- Rosin paper + plastic floor protection
- Furniture moved and re-covered
- Premium tape, knife-pressed
- Outlets and switch plates removed
- HVAC vents sealed
The Application
Walls get two finish coats minimum. Premium acrylic latex loaded heavy on the brush and roller — light coats cause holidays and flashing. Cut lines are pulled freehand with an angled brush by lead painters. Final walkthrough with you, touch-ups completed before we leave.
- Two finish coats standard
- Freehand cut lines by lead painters
- Premium paint (Benjamin Moore / Sherwin-Williams)
- Walkthrough completed with client
- Touch-ups before we leave